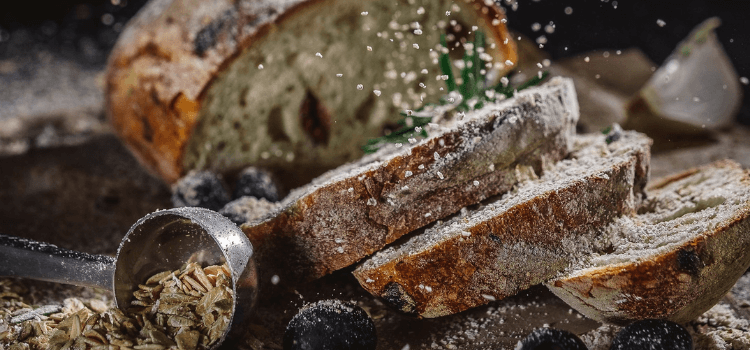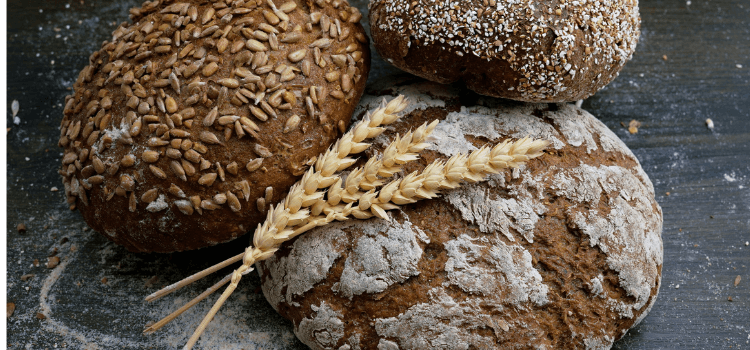
The aroma of freshly baked bread is irresistible, and it becomes even more magical when that bread is made outdoors, over a crackling campfire. In the serenity of the wilderness, making campfire bread is more than a culinary delight—it's a sensory experience that connects us to nature's rhythms. As we explore the art of baking bread in the great outdoors, we’ll uncover a recipe that transcends the taste buds, providing a step-by-step guide to creating a rustic loaf that’s sure to become a highlight of your next camping trip. Let’s ignite the spirit of adventure and embrace the tradition of campfire cooking!
Gathering Ingredients and Equipment
Before you can roll up your sleeves and get your hands dirty, you’ll need to gather the essentials for baking in the wild. Here's what you’ll need:
Ingredients
- 2 1/4 teaspoons active dry yeast
- 2 cups warm water
- 2 tablespoons sugar
- 5 cups all-purpose flour
- 2 teaspoons salt
- 2 tablespoons olive oil
- Extra flour for dusting
Equipment
- Large mixing bowl
- Wooden spoon for mixing
- Clean kitchen towel
- Fire-safe skillet or Dutch oven with a lid
- Heavy-duty gloves for handling hot items
- Measuring cups and spoons
With these provisions at your disposal, you're well-equipped to embark on your culinary journey.
Preparing the Dough
Bread-making hinges on the quality of the dough, which requires patience and precision. Here’s how to prepare it:
Mixing the Dough
- Activate the Yeast: In your mixing bowl, combine warm water, sugar, and yeast. Wait for it to froth, a sign that the yeast is activated.
- Add Flour and Salt: Gradually mix in the flour and salt. Use the wooden spoon to combine the ingredients until a shaggy dough forms.
- Kneading: Flour a flat surface and transfer the dough. Knead the dough for 10-15 minutes until it becomes smooth and elastic.
- Rising: Place the dough in the bowl. Rub olive oil all over the dough and bowl to prevent sticking. Cover with a clean kitchen towel and let it rise in a warm place for about an hour, or until doubled in size.
Preparing the Campfire
A well-prepared campfire is vital for successful bread-baking. You’ll want hot coals, not flames. Here's how to ensure your fire is up to the task:
- Location: Select a safe, designated campfire area away from any flammable material.
- Building the Fire: Use dry wood and kindling to start a fire. As the flames subside, move the logs to the side to allow the coals to heat up and become uniform in temperature.
- Time Management: While the fire is burning, this is a good time to begin shaping your dough and letting it rise for the second time near the warmth of the fire.
- Safety: Always keep a bucket of water or a fire extinguisher on hand, and never leave a fire unattended.
Cooking the Bread
When your fire is ready, it’s time to bake. The method described here is for baking with a covered skillet over direct heat.
Shaping and Placing the Dough
- Shaping: Once the dough has risen a second time (about 30-45 minutes), punch it down and shape it into a round loaf.
- Fire Readiness Test: The coals should be red hot but not flaming. The fire is best for cooking after it has been burning for an hour or more.
- Lining the Skillet/Dutch Oven: If using a skillet, line the bottom with parchment paper. Transfer the shaped dough to the skillet or Dutch oven.
Baking
- Placing the Bread in the Fire: Place the covered skillet or Dutch oven in the center of the hot coals. Using long tongs or a shovel, pile hot coals on top of the lid.
- Cook Time: The bread will take approximately 20-25 minutes to cook. Be sure to rotate the skillet every 5-7 minutes for even baking.
- Checking for Doneness: After 20 minutes, remove the coals from the top and insert a long skewer or a knife. If it comes out clean, the bread is ready. If not, continue cooking, checking every 5 minutes.
Variations and Additions
Bread-making is an art, and with a few tweaks, your campfire bread can be as versatile as it is delicious:
- Herbs and Seasonings: Add a teaspoon of your favorite dried herbs or spices to the dough for a flavorful twist.
- Sweet Additions: For a sweet experience, incorporate cinnamon and sugar into the dough or sprinkle the tops with sugar.
- Toppings: Just before placing the bread on the fire, you can sprinkle the top with a mix of seeds for added texture and taste.

Enjoying the Finished Product
The best part of any meal is relishing the fruits of your labor. Here are some ways to enjoy your campfire bread:
- Serving: Once cooled, slice the bread and serve with your favorite campfire meals or spreads.
- Storage: Store your bread in a paper bag to maintain its rustic crust and enjoy the leftovers for future breakfasts and lunches.
- Memories: Savor the moment and the simple joy of homemade bread, as the taste preserves memories of crackling fires and the great outdoors.
FAQ
Q: Can I use a Campfire Grill to Bake Bread?
Yes, a grill can be used, but you’ll need a way to cover the bread to create an oven-like environment, such as a grill-safe lid or a makeshift foil tent placed over the dough.
Q: Can I Use Whole Wheat Flour or Other Types of Flour?
Absolutely! Whole wheat and other types of flour can be used. Just be aware that different flours may require adjusting the amount of water in the dough.
Q: What if I Don’t Have Sugar for the Yeast Mixture?
You can substitute with honey or maple syrup. The sugar's main function is to provide food for the yeast to activate and increase rising.
Conclusion
The experience of making campfire bread is about more than just sustenance. It’s a tether to our past, a testament to self-reliance, and a demonstration of the extraordinary within the ordinary. As you master this art, remember it’s a process that rewards your time and effort. From the simple act of kneading dough to the transformative power of fire, campfire bread serves up a slice of wonder in every bite. Pack your ingredients, don your apron, and savor the flavors of outdoor living. Happy baking and bon appétit!
Hi, this is Rise N Dine ATL. To learn more about us, visit the About Us page.